

Single sign-on (SSO) is a session and user authentication technique that permits a user to use one set of login credentials to authenticate with multiple apps. SSO works by establishing trust between a service provider, usually your application, and an identity provider, like FusionAuth.
The trust is established through an out-of-band exchange of cryptographic credentials, such as a client secret or public key infrastructure (PKI) certificate. Once trust has been established between the service provider and the identity provider, SSO authentication can occur when a user wants to authenticate with the service provider. This will typically involve the service provider sending a token to the identity provider containing details about the user seeking authentication. The identity provider can then check if the user is already authenticated and ask them to authenticate if they are not. Once this is done, the identity provider can send a token back to the service provider, signifying that the user has been granted access.
SSO helps reduce password fatigue by requiring users to only remember one password and username for all the applications managed through the SSO feature. This also reduces the number of support tickets created for your IT team when a user inevitably forgets their password. In addition, SSO minimizes the number of times you have to key-in security credentials, limiting exposure to security issues like keystroke probing and exposure. Security is also enhanced by SSO because you can implement additional functionality such as MFA or anomalous behavior detection at the identity provider without adding any complexity to your application.
In this tutorial, you’ll learn how to design and implement SSO using Laravel, a popular PHP-based web framework and FusionAuth as the OIDC provider. Any other OIDC compatible authentication server should work as well.
Implementing SSO in a Laravel web app
As previously stated, in this tutorial, you’ll be shown how to implement SSO in a Laravel web app. The Laravel demo application is integrated with FusionAuth, an authentication and authorization platform, and Laravel Socialite, its official solution to authenticate users with OAuth providers.
Before you begin, you’ll need the following:
- A Linux machine. The step-by-step instructions in this article are based on a CentOS Linux machine. If you want to work on a different OS, check out this setup guide for more information.
- Docker Engine and Docker Compose.
- Experience with a Laravel framework and application development.
- The Git client tool.
Clone the GitHub repository (optional)
If you don’t want to keep copying and pasting code from this article, you can clone this GitHub repository using the command below. You’d still have to configure the environment variables though.
git clone https://github.com/FusionAuth/fusionauth-example-laravel-single-sign-on
Installing FusionAuth
If you already have a FusionAuth Cloud instance, you can use that, but for the sake of simplicity, this tutorial will assume you are using a locally hosted instance. There are detailed setup guides in the documentation, but the short version is that once you have Docker and Docker Compose set up and installed correctly, you can run the following command in a new directory to download and execute the necessary files.
$ curl -o docker-compose.yml https://raw.githubusercontent.com/FusionAuth/fusionauth-containers/master/docker/fusionauth/docker-compose.yml $ curl -o .env https://raw.githubusercontent.com/FusionAuth/fusionauth-containers/master/docker/fusionauth/.env $ docker compose up
Starting FusionAuth
Once the FusionAuth service is started, open a browser and access http://localhost:9011/, where you’ll be taken to the “FusionAuth Setup Wizard”, as seen in the image below.
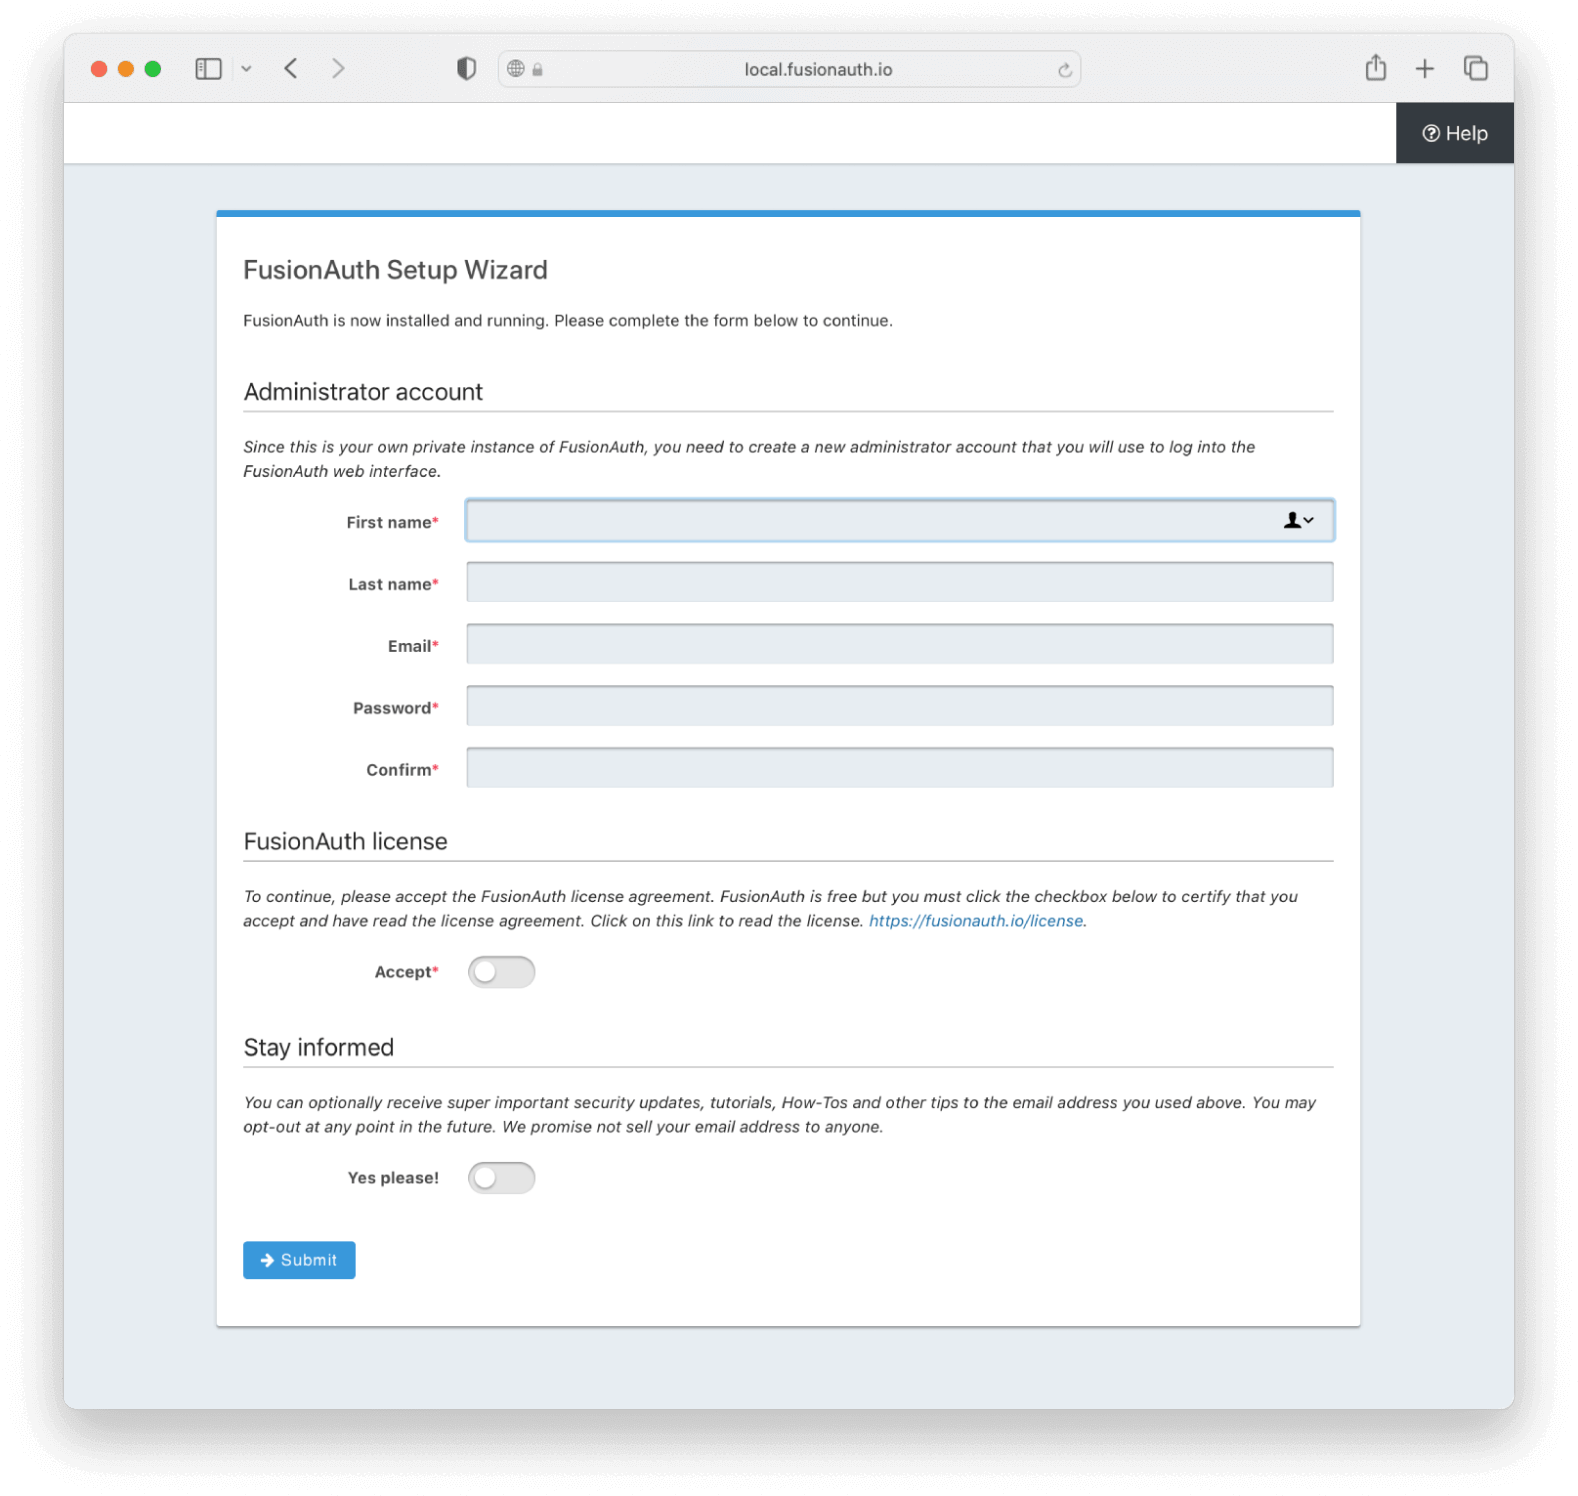
FusionAuth setup wizard.
Fill in the admin user account details, read and accept the License Agreement. When you are ready, click “Submit”.
After submitting, you’ll be taken to a login screen where you need to fill in the credentials you specified during the setup wizard and sign in to the FusionAuth administrative user interface. Later, you’ll use the same admin account for testing the SSO of the application.
Configure FusionAuth
Now you need to configure FusionAuth.
First, you’ll configure the application, then register the user for the application.
This setup allows users in FusionAuth to sign in to the Laravel application automatically once they are authenticated by FusionAuth.
Set up the application
To set up the application, navigate to the FusionAuth admin UI and select “Applications” on the left-hand navigation bar:

Set up the application.
Then click on the “+” button on the top right of the “Applications” page and fill in the “Name” field with a name of your choosing (here, it’s “your_application”):
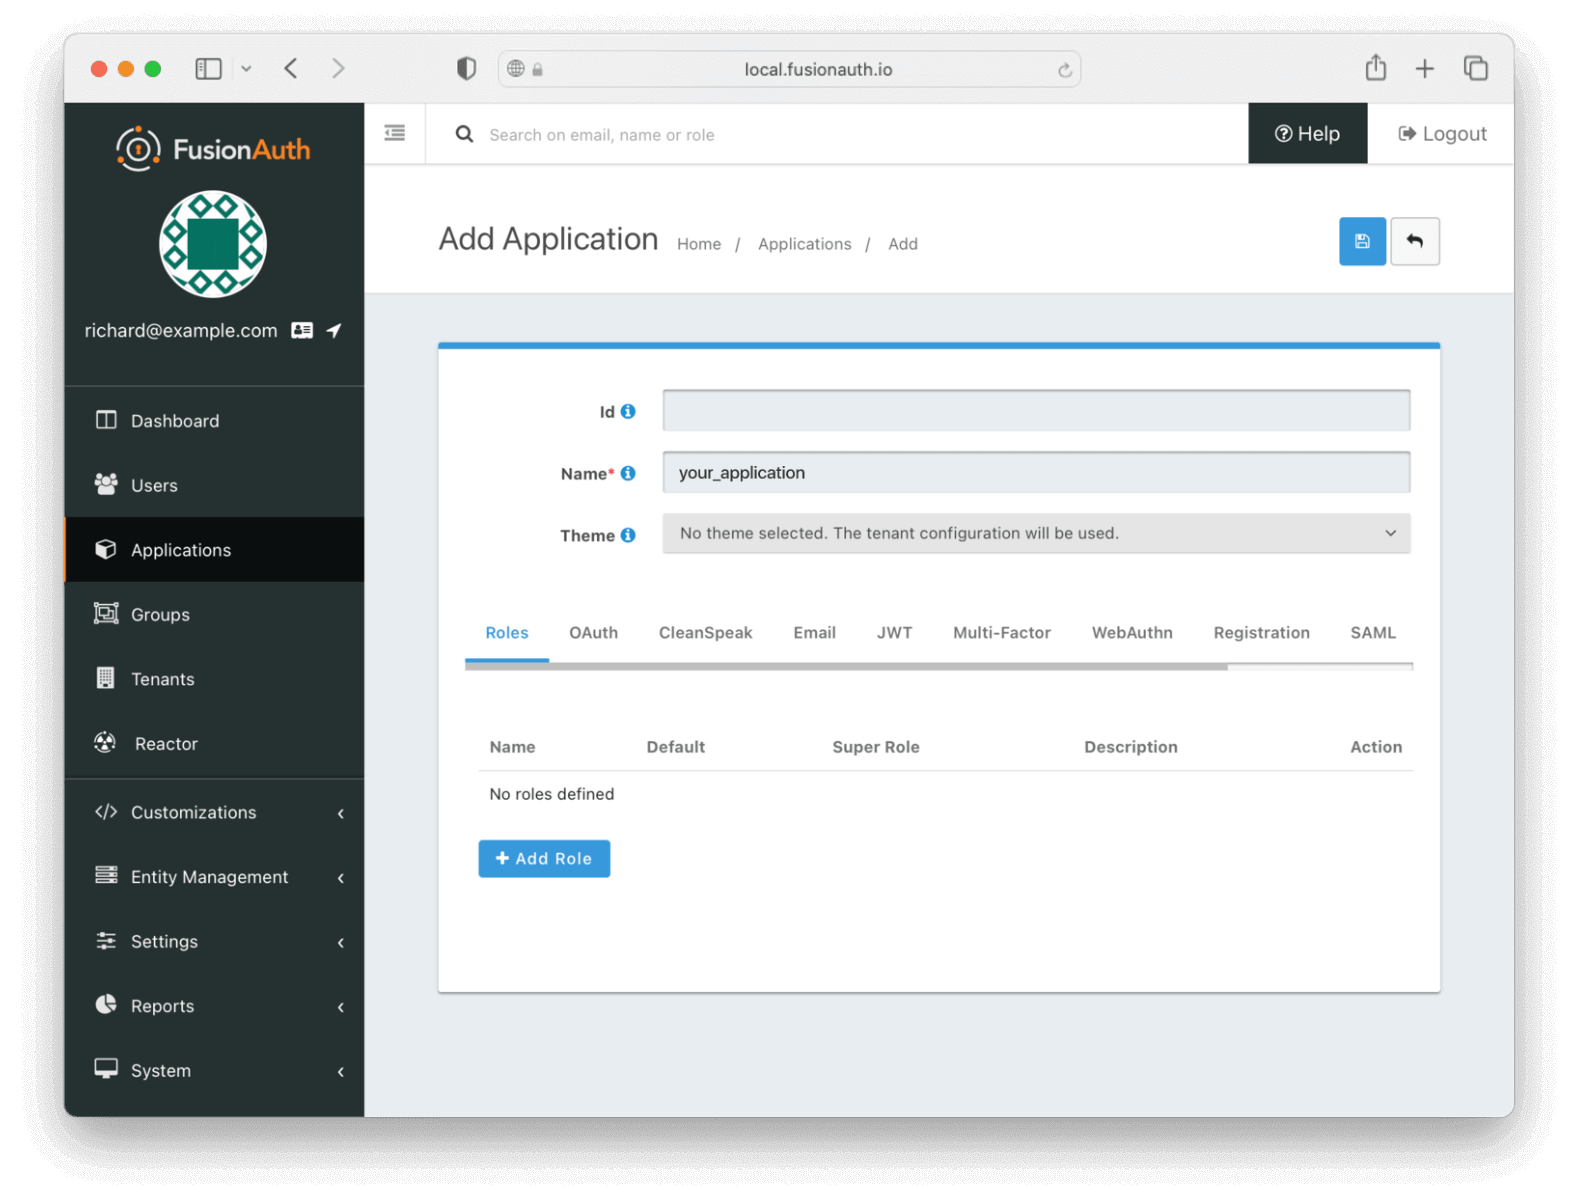
Name your application.
You can leave all the other fields empty because FusionAuth will choose a default value for those fields. Go ahead and save the application in order for the Client Id details to be generated.
Access the “Application” page again and click on the “Edit Applications” icon (a little edit/notepad icon):
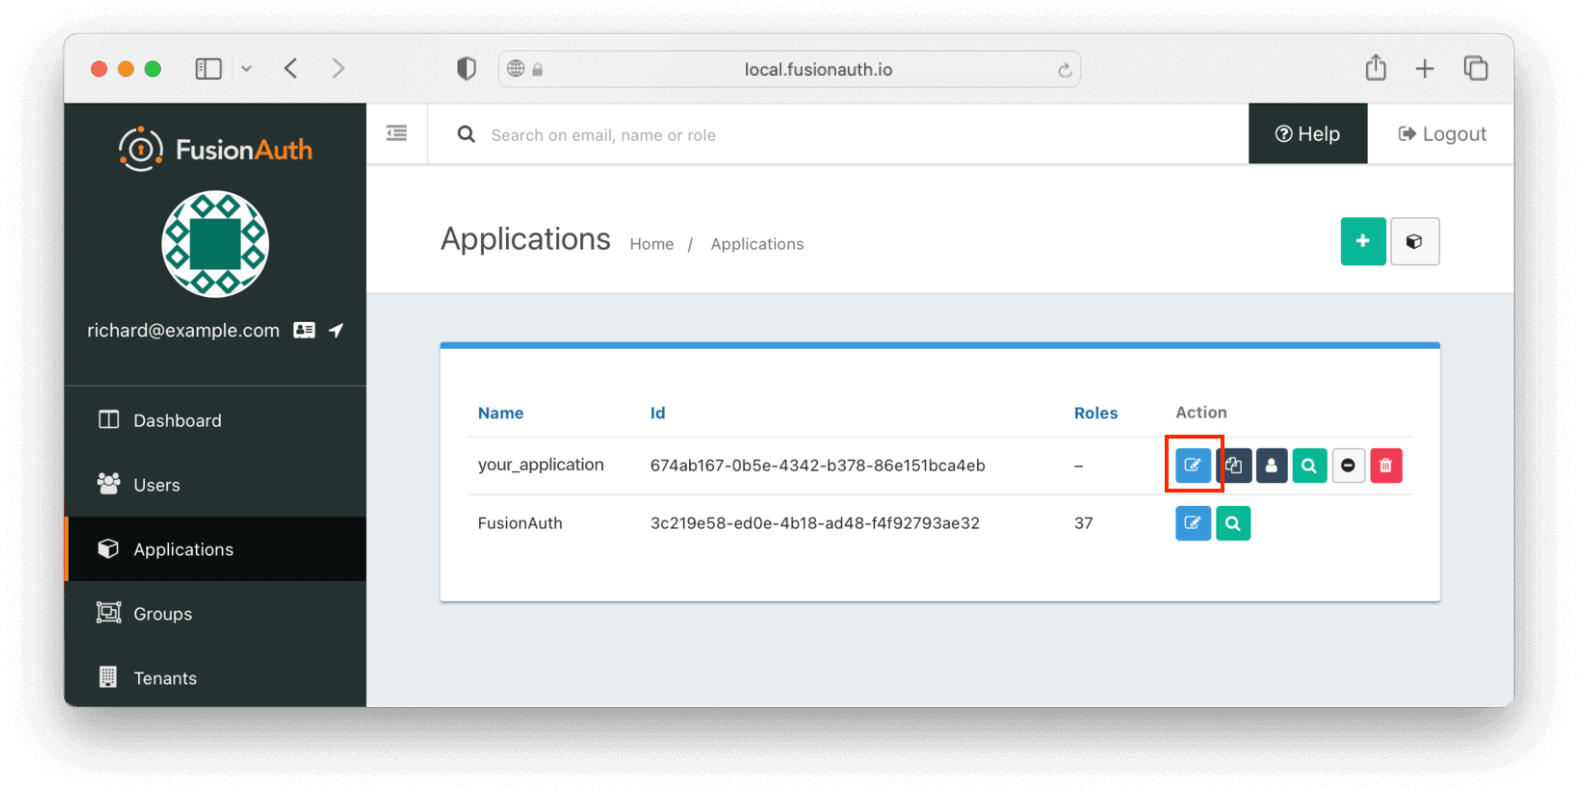
The list of applications. The edit icon is the blue pencil/notepad.
On the “Edit Application” page, click on the “OAuth” tab at the top. You’ll need to get some information from this page.

The OAuth details tab.
- Record the generated “Client Id” and the “Client Secret” in a text file or to the clipboard. You’ll use these below.
- Add the value
http://localhost/auth/callbackto the “Authorized redirect URLs” field. This will be used by FusionAuth to redirect the user to your application page once the user is successfully authenticated. - Scroll down and check the “Require registration” checkbox. This ensures that users who haven’t been registered for this application in FusionAuth aren’t able to access it when using the hosted login pages.
After filling in the details, click the “Save” icon.
You aren’t limited to one application, by the way. If you have multiple applications, or even other applications like Zendesk or forum software, set them up here to enable SSO.
Register the user
Next, register the user for the application. Navigate to the “Users” tab and find your user. Click on the black “Manage User” button under the “Action” heading in the list. You’ll end up at the details page:

The user details screen, where you can register them.
Click “Add registration” to register the user in your_application.

Adding the user registration.
If users of this application have unique configuration details, such as a username, timezone, or languages, which are different from the user’s defaults, you could configure them here.
However, for this tutorial, you can click the blue “Save” button and accept the default values.
Kickstart
Instead of manually setting up FusionAuth using the admin UI as you did above, you can use Kickstart. This tool allows you to get going quickly if you have a fresh installation of FusionAuth. Learn more about how to use Kickstart.
Here’s an example Kickstart file which sets up FusionAuth for this tutorial.
Installing and configuring Laravel
If you already have a running Laravel application, please skip this step.
There are several ways of installing Laravel, but we recommend using it inside a Docker container via Laravel Sail. To do so, you can execute the command below to automatically download and install every package needed:
$ curl -s https://laravel.build/my-app | bash
You can change the name of your application from my-app from the URL above to anything you like, as long as it only contains alphanumeric characters, dashes and underscores.
After everything is finished, you can enter the application directory and start it via Sail:
$ cd my-app $ ./vendor/bin/sail up -d
The command ./vendor/bin/sail has a lot of built-in tools to handle the containerized application from your host machine and it forwards every unknown argument to docker compose. So, the command above would actually just call docker compose up -d with the necessary context and environment to run it successfully.
To test whether the Laravel application is up and running as expected, open a browser and access http://localhost.
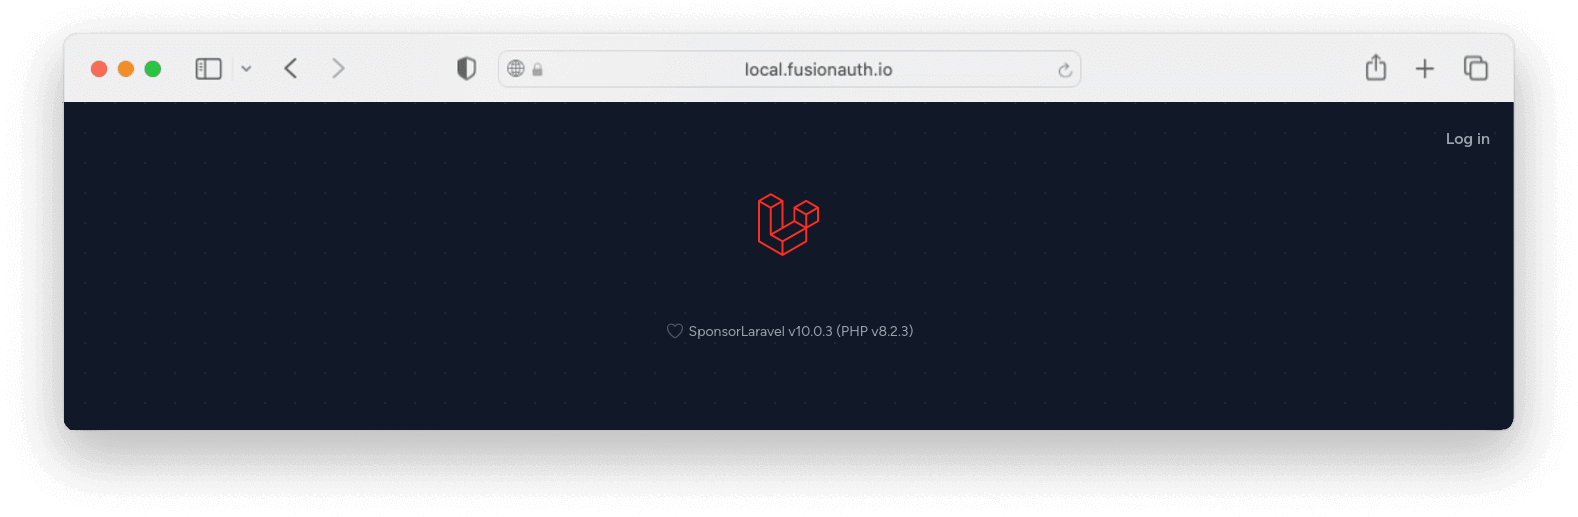
The default Laravel application.
According to its own docs, Laravel Socialite is a “a simple, convenient way to authenticate with OAuth providers”, meaning that is a very straightforward way of calling a remote server in order to authenticate a user. And that is exactly what FusionAuth is all about!
Officially, it ships with support for Facebook, Twitter, LinkedIn, Google, GitHub, GitLab and Bitbucket, but there are several community projects that add other providers, and they are grouped in a project called Socialite Providers.
Thanks to the open-source community, there is this package to use FusionAuth as a provider, which we’ll now use to show you how it’s done!
Installing the FusionAuth provider
The first thing you need to do is add the FusionAuth provider as a dependency to your application.
$ ./vendor/bin/sail composer require socialiteproviders/fusionauth
When running the command above, composer will automatically install the necessary laravel/socialite package
Alter the service provider responsible for listening to events at app/Providers/EventServiceProvider.php to tell Laravel that it should call FusionAuthExtendSocialite class when there is an event for Socialite. To do this, change its $listen property to add the following entry to the array:
protected $listen = [ \SocialiteProviders\Manager\SocialiteWasCalled::class => [ \SocialiteProviders\FusionAuth\FusionAuthExtendSocialite::class . '@handle', ], ];
If you already have something in the $listen array (like Registered::class => [...]), please keep it and add a new entry to the array
Now, configure your application with the necessary settings to interact with the FusionAuth service, by adding a new entry to the array located at config/services.php:
'fusionauth' => [ 'client_id' => env('FUSIONAUTH_CLIENT_ID'), 'client_secret' => env('FUSIONAUTH_CLIENT_SECRET'), 'redirect' => env('FUSIONAUTH_REDIRECT_URI'), 'base_url' => env('FUSIONAUTH_BASE_URL'), 'tenant_id' => env('FUSIONAUTH_TENANT_ID'), ],
Configuring environment variables
Instead of putting the values directly there, you should use environment variables, which is a good practice from both maintenance and security standpoints, as described in the 12 Factor App methodology and in several others. Being so, alter your .env file to include those entries:
# Paste both client Id and secret for your application FUSIONAUTH_CLIENT_ID=<APP CLIENT ID FROM FUSIONAUTH> FUSIONAUTH_CLIENT_SECRET=<APP CLIENT SECRET FROM FUSIONAUTH> # Specify a tenant Id or leave this blank for the default tenant FUSIONAUTH_TENANT_ID=<ID FOR YOUR TENANT> # Replace http://localhost:9011 with the address where the FusionAuth application is running FUSIONAUTH_BASE_URL=http://localhost:9011 # Replace http://localhost with the address for your PHP application, if necessary # We'll create the route for `/auth/callback` later## FUSIONAUTH_REDIRECT_URI=http://localhost/auth/callback
Creating new fields in the User model
Migrations are the code-based version control for your database. Instead of having to share SQL queries with your coworkers so they can create a table or add a column everytime there is a change in the database, you can write code to programmatically do this when running a command.
In Laravel, to create a new migration you just need to run the artisan make:migration and inform a meaningful name for it. In the next line, we’ll create a migration called add_fusionauth_fields_user_table:
$ ./vendor/bin/sail artisan make:migration add_fusionauth_fields_user_table
Then, go to your database/migrations folder, where you’ll find a file there with the name you created and prefixed by today’s date (e.g 2023_02_03_123000_add_fusionauth_fields_user_table.php).
Edit that file to add three new columns to the users table: fusionauth_id, fusionauth_access_token and fusionauth_refresh_token and allow NULL values in the password column. You’d want to save the access token in your database to make requests to the FusionAuth API or other APIs that accept FusionAuth access tokens on behalf of the user. The refresh token is used to exchange an expired access token with a new one (but you’d still have to implement this yourself, as Socialite still doesn’t do it). This way, users don’t need to log in again to your FusionAuth instance as long as the refresh token is still valid.
<?php use Illuminate\Database\Migrations\Migration; use Illuminate\Database\Schema\Blueprint; use Illuminate\Support\Facades\Schema; return new class extends Migration { /** * When running this migration, we want to create three new columns and change the password so it can be NULL * * @return void */ public function up() { Schema::table('users', function (Blueprint $table) { $table->string('fusionauth_id', 36)->unique(); $table->text('fusionauth_access_token'); $table->text('fusionauth_refresh_token')->nullable(); $table->string('password')->nullable()->change(); }); } /** * When rolling back this migration, we want to drop the added columns and revert the password to NOT NULL again * * @return void */ public function down() { Schema::table('users', function (Blueprint $table) { $table->dropColumn('fusionauth_id'); $table->dropColumn('fusionauth_access_token'); $table->dropColumn('fusionauth_refresh_token'); $table->string('password')->nullable(false)->change(); }); } };
You also need to add doctrine/dbal as a dependency, which is a package responsible for changing table and column definitions:
$ ./vendor/bin/sail composer require doctrine/dbal
Run the migration to add those new columns:
$ ./vendor/bin/sail php artisan migrate INFO Running migrations. 2023_02_03_123000_add_fusionauth_fields_user_table ........................... 51ms DONE
Now, you need to change the User model so it can become aware of these new columns. Modify app/Models/User.php and add them to both $fillable and $hidden properties:
/** * The attributes that are mass assignable. * * @var array<int, string> */ protected $fillable = [ 'name', 'email', 'password', 'fusionauth_id', // Add this column here 'fusionauth_access_token', // Add this column here 'fusionauth_refresh_token', // Add this column here ]; /** * The attributes that should be hidden for serialization. * * @var array<int, string> */ protected $hidden = [ 'password', 'remember_token', 'fusionauth_id', // Add this column here 'fusionauth_access_token', // Add this column here 'fusionauth_refresh_token', // Add this column here ];
Adding routes
Now that your Users model and table have more details about the integration, you should define the necessary routes to redirect the user to the FusionAuth login and the page that the user will be redirected to after completing the process and obtaining an access token there. Add them to the routes/web.php file:
<?php use App\Models\User; use Illuminate\Support\Facades\Auth; use Laravel\Socialite\Facades\Socialite; /** * Responsible for redirecting the user to the FusionAuth login page */ Route::get('/auth/redirect', function () { return Socialite::driver('fusionauth')->redirect(); })->name('login'); /** * This is the address that we configured in our .env file which the user will be redirected to after completing the * login process */ Route::get('/auth/callback', function () { /** @var \SocialiteProviders\Manager\OAuth2\User $user */ $user = Socialite::driver('fusionauth')->user(); // Let's create a new entry in our users table (or update if it already exists) with some information from the user $user = User::updateOrCreate([ 'fusionauth_id' => $user->id, ], [ 'name' => $user->name, 'email' => $user->email, 'fusionauth_access_token' => $user->token, 'fusionauth_refresh_token' => $user->refreshToken, ]); // Logging the user in Auth::login($user); // Here, you should redirect to your app's authenticated pages (e.g. the user dashboard) return redirect('/'); });
Changing the view
To better see what is going on after logging in, you can change the view for the home page to actually display the name or the current user. You can do this by opening resources/views/welcome.blade.php and adding a new line after “Home”:
// Before: @auth <a href="{{ url('/home') }}" class="font-semibold text-gray-600 hover:text-gray-900 dark:text-gray-400 dark:hover:text-white focus:outline focus:outline-2 focus:rounded-sm focus:outline-red-500">Home</a> @else // ... // After: @auth <a href="{{ url('/home') }}" class="font-semibold text-gray-600 hover:text-gray-900 dark:text-gray-400 dark:hover:text-white focus:outline focus:outline-2 focus:rounded-sm focus:outline-red-500">Home</a> <span class="ml-4 text-gray-600 dark:text-gray-400">Welcome, <span class="font-semibold">{{ Auth::user()->name }}</span></span> @else // ...
Testing
It is finally time to open your application in the browser and test everything! Navigate to http://localhost and click the “Log in” link in the upper right corner of that page to be taken to FusionAuth’s login screen. Provide the credentials for the user you created earlier and submit the form: you should be redirected back to that “Welcome” page but instead of seeing the same “Log in” link, you should now see both “Home” and your name there!
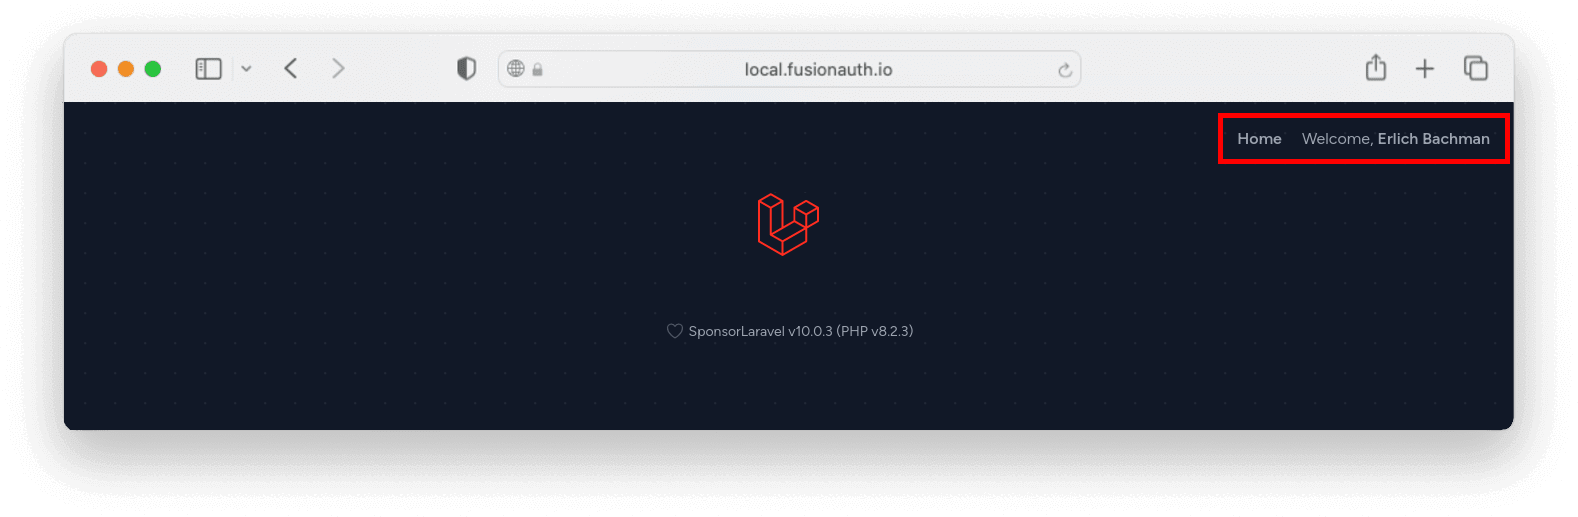
The default Laravel application while being logged in.
Now you have a working Laravel application that has been authenticated by the user created in FusionAuth. On successful sign-in to the integrated OAuth and identity provider, the user is automatically signed in in the Laravel application!
Conclusion
SSO-based authentication eases the process of signing in to applications, and it’s a popular choice for many organizations. In this article, you learned about SSO and authentication platforms like FusionAuth, as well as how you can integrate a Laravel application with FusionAuth to successfully enable SSO-based authentication.
Get your hands dirty by downloading FusionAuth for free and set up SSO for your Laravel app today.